Planted up your PlantBox living wall and want to show it off? (We don’t blame you.) Learn how to take the perfect PlantBox picture with our top photography tips!
Taking a photo of your living wall is as quick and easy as setting it up — all you need is the camera on your phone. Follow these steps and you will soon hear the likes clicking in.
Consider your angles
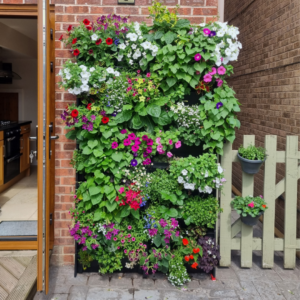
@siobhanfre
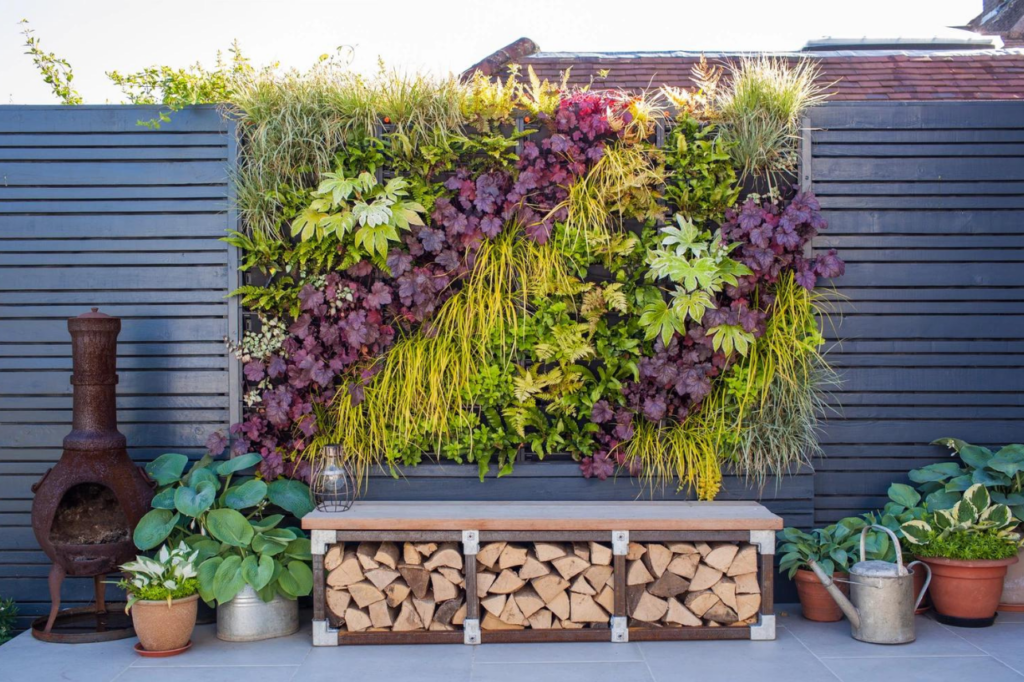
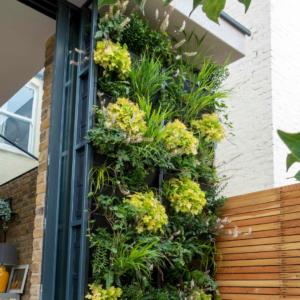
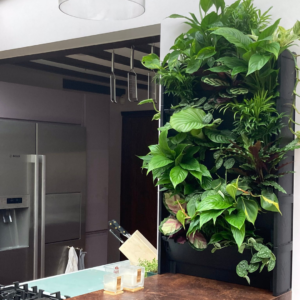
Front on. It’s a classic for a reason and the best way to show off all the plants in your display.
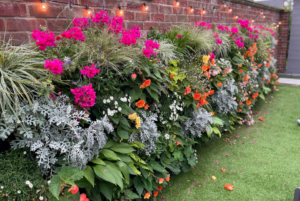
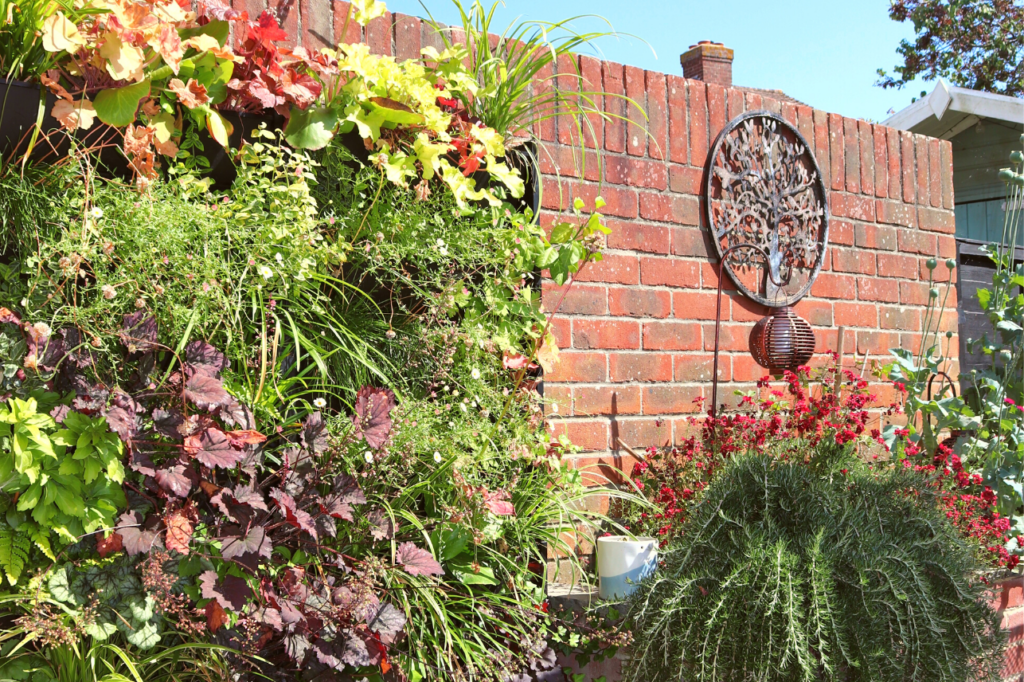
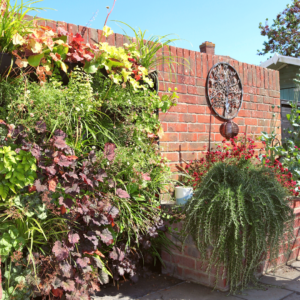
The perfect 45. By standing at a 45 degree angle to your living wall, you will be able to capture most of your living wall display while at the same time highlighting the various shapes and lengths of the foliage. Ferns, grasses and trailing plants all look great from the side as they spill out and over the PlantBox.
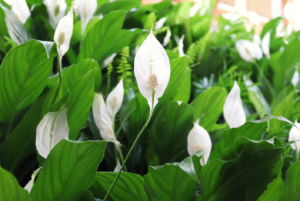
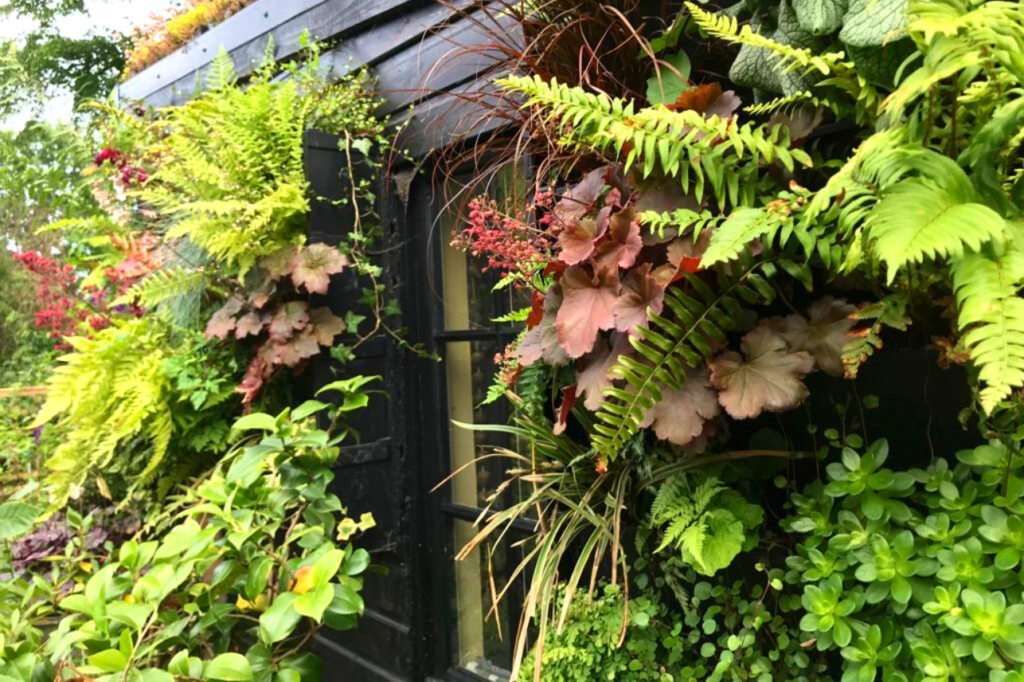
Close up. Try getting a little closer with your camera to focus on the minute detail of the flowers and leaves.
Simon Orchard Garden Design
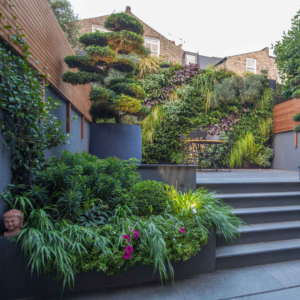
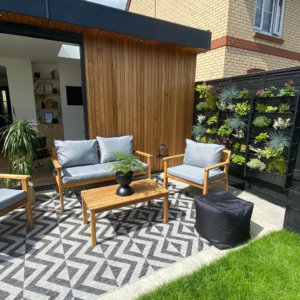
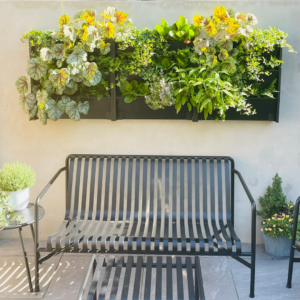
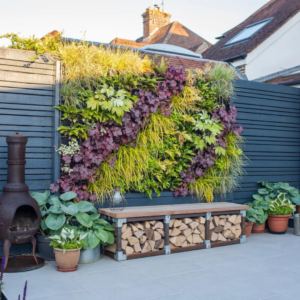
Stand back. Show your living wall and the space it has transformed. By including objects that don’t obscure the display, such as outdoor seating or potted plants, you can achieve a sense of scale. While you’re having a mini garden shuffle, don’t forget to remove any unwanted objects from the shot — uncoiled hoses are the biggest offenders — and sweep the patio if necessary. Perfect! More and more phones now feature cameras with a wide-angle lens, which are great for capturing a sense of space.
Why stop at one? Take a variety of photos and see what works best!
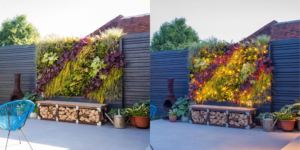
Before and after shots
Let’s be honest, who doesn’t love a before and after shot? To best capture how much your living wall has transformed your home, make sure to take photos at various stages. Try these:
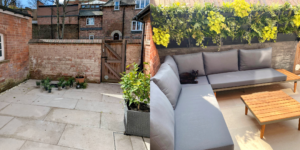
The “In the beginning” shot. What did the space look like before you assembled your PlantBox living wall? If you are wanting to show how much your space has changed, this is without a doubt the best shot to help achieve this.
@yorkhousedesigns
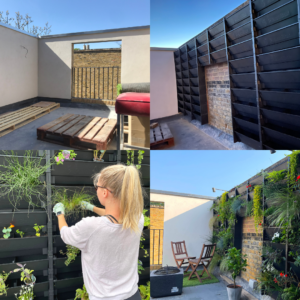
The “As it happens” shot. You might be busy planting up your living wall, but don’t forget to take a photo of the action as it happens.
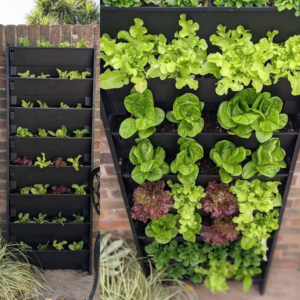
Newly planted. There’s no better time to get a photo of all your new plant babies than once you have finished planting up your living wall.
@agreenerlondon9
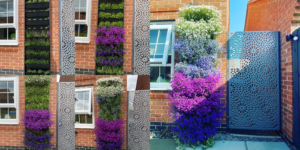
The 1 month anniversary. You will be surprised by how much your plants grow in their first month, and this shot makes the perfect “after” shot.
@finkpinkart
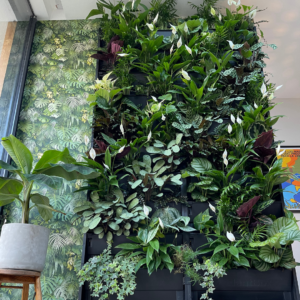
Has it really been 2 months? This is our favourite shot and for a simple reason. After about 2 months, most plants will have grown up enough to hide the recycled plastic and to make the display look at its fullest. For a photo that really wows, this is the shot. Let your flowers steal the show (and your likes).
Any time is a good time. Don’t forget to keep taking photos throughout the seasons to record all the changing colours and to see how your living wall has thrived over the years.
@yorkhousedesigns
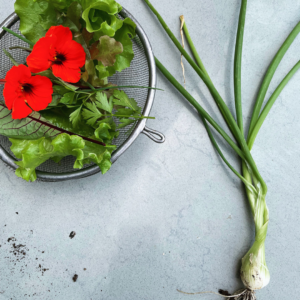
Freshly-picked perfection. If you have grown your own fruit, vegetables or herbs, share the meals you have made using them.
Consider the lighting
Indoors
You want as much bright natural light on your living wall as possible in order to capture the best colours. If your living wall isn’t near a window, you might want to time the photo when the daylight (and the room) is at its brightest.
Outdoors
Simon Orchard Garden Design
Avoid harsh shadows. If the light is casting harsh shadows on your living wall, try changing your angle or waiting until the shadows have softened. It’s generally best to shoot with a source of light coming from behind you.
Use interesting shadows. You can use shadows for dramatic effect. If your living wall display is throwing off long shadows, they can be an interesting addition to your composition.
Overcast days. Though not the stuff of poems and typically uninspiring, overcast days are great for taking photos of your living wall, since clouds diffuse light and don’t allow for hard shadows.
Sun, sun, sun. If your living wall spends part of the day in the shade, consider taking your photos when your living wall is in the sun—this will really make those colours pop. But be careful of those harsh shadows!
Firstly and lastly. For the best results, take your photos in the early morning or near sunset, when the sun is lower in the horizon. This will create ideal lighting conditions by avoiding harsh shadows. You can also see your living wall when it is lit from different directions.
Things to remember
Make sure the living wall is in focus. You would be surprised by the amount of blurry photos we receive. Most phones these days allow you to focus on your subject (that is, your living wall) by tapping the screen where the subject is. Doing this on some phones might change the lighting, so if the image suddenly becomes too dark or too bright, tap the same spot on the screen a second time and your living wall should appear in the ideal light.
Simon Orchard Garden Design
Consider the format. If you’re taking a photo with the intention of sharing it on Instagram, remember to keep the square (1080 x 1080) format in mind. Either set your camera to take photos in this format or keep plenty of space around your living wall. That way when it comes to cropping the photo you will still be able to show the entire living wall.
Top tip: If your phone has a camera with a wide-angle lens, you can use this to feature to capture the whole living wall and then crop the image afterwards.
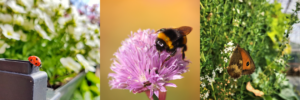
Have you planted pollinator-friendly flowers? If so, try to get shots of them with your living wall (videos are sometimes easier).
@conlocair
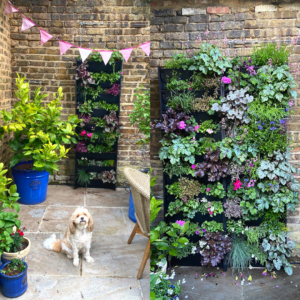
Have a four-legged friend? Add them in for an extra paw-some picture!
@theedwardianrenovation
Share your photos. Upload your photos to Instagram or Facebook and be sure to tag us and include the hashtag #PlantBox. You can also send your photos to hello@growingrevolution.com. Don’t forget to tell us a bit about your PlantBox living wall — what plants you used, why you wanted to use PlantBox, the space you wanted to transform and why, and so on — and we’ll share them to help inspire even more vertical gardeners.
Banner photo credit: Simon Orchard Garden Design